
How to Send Email from React Without a Backend
Update (November 24, 2020): Instructions and code samples have been updated to use React functional components and hooks.
I recently worked on a project where I needed to be able to let users submit feedback via a web form. The goal was to have submitted feedback sent as email to a designated email address. This project was going to be a static site built using React, however, without any backend to handle email. I figured out a way to make this work without introducing any backend or serverless (like AWS Lambda) type of solution. Here's how I did it!The Problem
The problem with front-end-only applications is that there is no way to securely store an email provider API key. Storing it client-side, where it would be visible in your application's code, is a no-no. Then anyone would be able to see your key! I found a way to handle this by using an intermediary service called EmailJS.
Create an Email Provider Account
I created a Mailgun account to serve as the email service. The free tier offers 10,000 emails and 100 email validations a month, which was plenty for my needs. For applications that already have a backend server of some kind, a service like Mailgun can easily be used directly. Some other email service options are Postmark and Mandrill.
Create an EmailJS Account
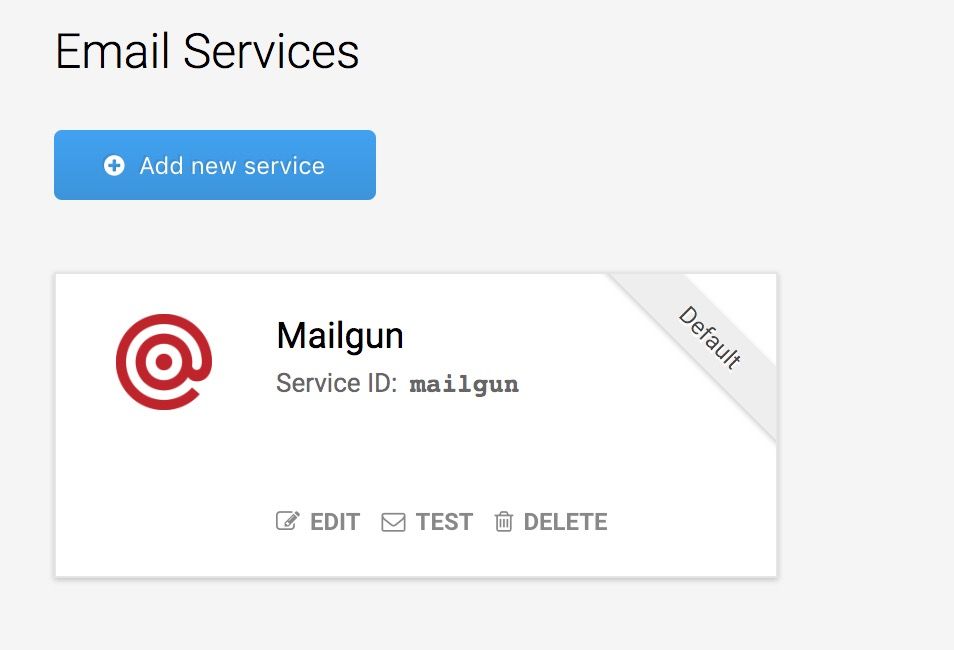
I created an EmailJS account to serve as a connector to my email service of choice for this project, Mailgun. This was the only provider I could find in this category. By having EmailJS as the intermediary, I would be able to send email via Mailgun directly from the end user's browser without exposing my Mailgun API key in my web application. The free tier of EmailJS 200 emails a month and 3 email templates.
Once my account was set up, I added Mailgun as an email service within my EmailJS account, adding in my Mailgun API key and domain.
Create an EmailJS Email Template
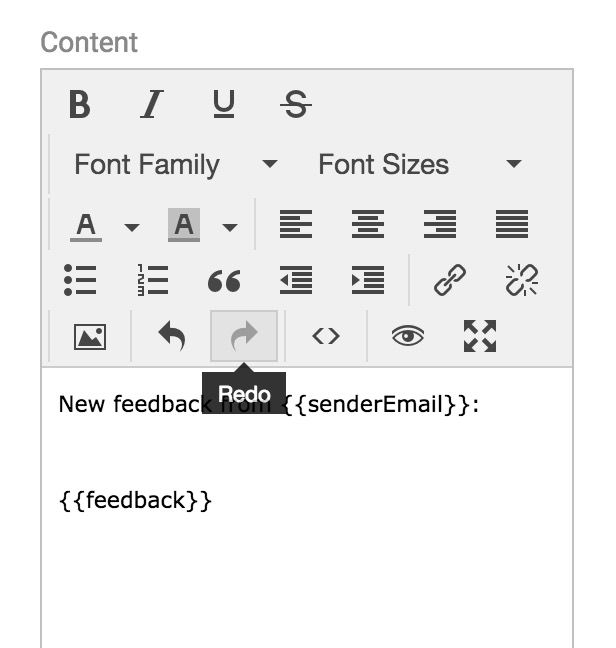
Within my EmailJS account, I added a custom email template that would provide the base email and underlying logic to process form submissions and send them to my designated recipient email address. Mustache is the underlying templating engine used. Since all template fields other than the template name and ID can contain parameters that are passed in from JavaScript, they are pretty flexible. I ended up needing to set up a few parameters (shown in curly braces) – one for the submitter's email, one for their feedback, and another one for the recipient's email (not shown below), set as the recipient for all feedback emails.
Add EmailJS to the Application
Next it was time to set up EmailJS within my React application.
Set Up Environment Variables
Since create react app comes with support for environment variables, I added 3 of them: REACT_APP_EMAILJS_USERID, REACT_APP_EMAILJS_TEMPLATEID, and REACT_APP_EMAILJS_RECEIVER. This way I'd be able to use a different template ID or email recipient on different instances of my application (Ex. development vs staging vs production) if I needed to.
Add EmailJS as a Dependency
My application was built with create react app, I had a public/index.html file already and added EmailJS directly there in the document head. Alternatively, EmailJS can be added as an npm package, as detailed in their documentation.
    <script type="text/javascript" src="https://cdn.jsdelivr.net/npm/emailjs-com@2.4.0/dist/email.min.js">
    <script type="text/javascript">
       (function(){
          emailjs.init("%REACT_APP_EMAILJS_USERID%");
       })();
    </script>
Build the Base Form Component
Next, I added my React feedback form component with its base markup:
const FeedbackForm = ({ env }) => {
  const [feedback, setFeedback] = useState("")
  const [formSubmitted, setFormSubmitted] = useState(false)
  const [formSubmitSuccessful, setFormSubmitSuccessful] = useState(false)

  const senderEmail = "sender@example.com"

  return (
    <form className="feedback-form" onSubmit={handleSubmit}>
      <h1>Your Feedback</h1>
      <textarea
        className="text-input"
        id="feedback-entry"
        name="feedback-entry"
        onChange={handleChange}
        placeholder="Enter your feedback here"
        required
        value={feedback}
      />
      <div className="btn-group">
        <button className="btn btn--cancel" onClick={handleCancel}>
          Cancel
        </button>
        <input type="submit" value="Submit" className="btn btn--submit" />
      </div>
    </form>
  )
}
Add Email Submit Functionality and Event Handlers
In my form component, I added a handleSubmit() function that calls a separate sendFeedback() function to trigger feedback submissions to be sent via EmailJS. I also add a handleChange() and handleCancel() function:
const handleCancel = () => {
  setFeedback("")
}

const handleChange = event => {
  setFeedback(event.target.value)
}

const handleSubmit = event => {
  event.preventDefault()

  const {
    REACT_APP_EMAILJS_RECEIVER: receiverEmail,
    REACT_APP_EMAILJS_TEMPLATEID: templateId,
    REACT_APP_EMAILJS_USERID: user,
  } = env

  sendFeedback({
    templateId,
    senderEmail,
    receiverEmail,
    feedback,
    user,
  })

  setFormSubmitted(true)
}

// Note: this is using default_service, which will map to whatever
// default email provider you've set in your EmailJS account.
const sendFeedback = ({
  templateId,
  senderEmail,
  receiverEmail,
  feedback,
  user,
}) => {
  window.emailjs
    .send(
      "default_service",
      templateId,
      {
        senderEmail,
        receiverEmail,
        feedback,
      },
      user
    )
    .then(res => {
      if (res.status === 200) {
        setFormSubmitSuccessful(true)
      }
    })
    // Handle errors here however you like
    .catch(err => console.error("Failed to send feedback. Error: ", err))
}
As shown above, I used EmailJS's send() function, which is covered in their SDK documentation. In that call, I include an object containing the three parameters that my EmailJS template needs – senderEmail, receiverEmail, and feedback. I then proceeded to test the form to check that feedback emails were sent. I liked that I could also see a log of emails sent in my EmailJS dashboard.
Add a Confirmation Message Or Message Component
In the bottom of my form component, I added logic to conditionally render a "thank you" message if the form submission was successful.
if (formSubmitted && formSubmitSuccessful) {
  return <h2>Thank You! Your submission was sent.</h2>
}

// Otherwise, render the form as before
return (
  <form className="feedback-form" onSubmit={handleSubmit}>
    <h1>Your Feedback</h1>
    {/* Rest of form goes here */}
  </form>
)
Alternatively, you could add a separate confirmation or "thank you" message component that would display after successful feedback form submissions. And boom – success! Email send functionality from my React application without the need for a backend. This approach could be used with other front-end applications built with plain ol' JavaScript and HTML or another framework like Vue.js.
To view a completed code example built on top of Create React App, see https://github.com/sheelah/react-form-submission-demo.
Featured image by Tim Evans via Unspash